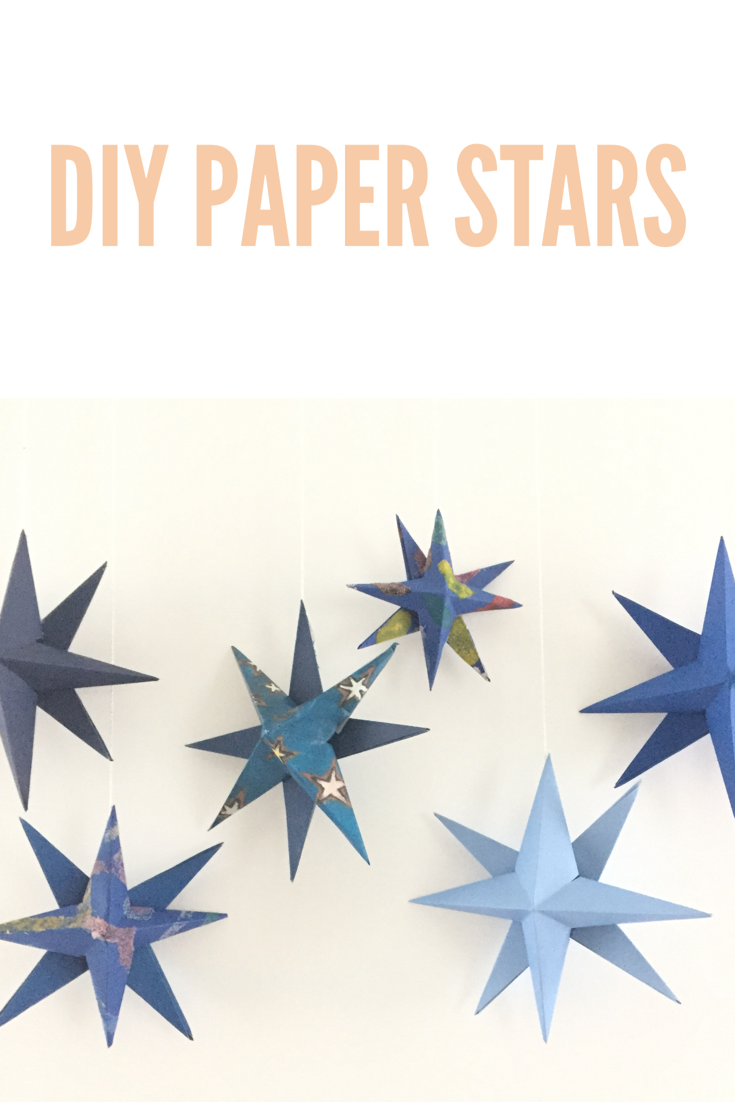
3-D Paper Star
Meet the DIY paper star - a very simple, yet very eye-popping, paper craft. I bet that most of you can do this one with the supplies that you already have on hand. This is a great time to dig into the kid art drawer and re-purpose old work. I really love this DIY because it is so versatile and oh so pretty!
Materials:
6" x 6" colorful square paper (origami, scrapbooking, construction, recycled kid art..)
thread to hang
** Please note that we participate in the Amazon Affiliate program. This means if you purchase any of the products linked here we will receive a tiny sales commission at no additional cost to you. We only link to products we use and love. Your support helps us keep this site running - thank you!
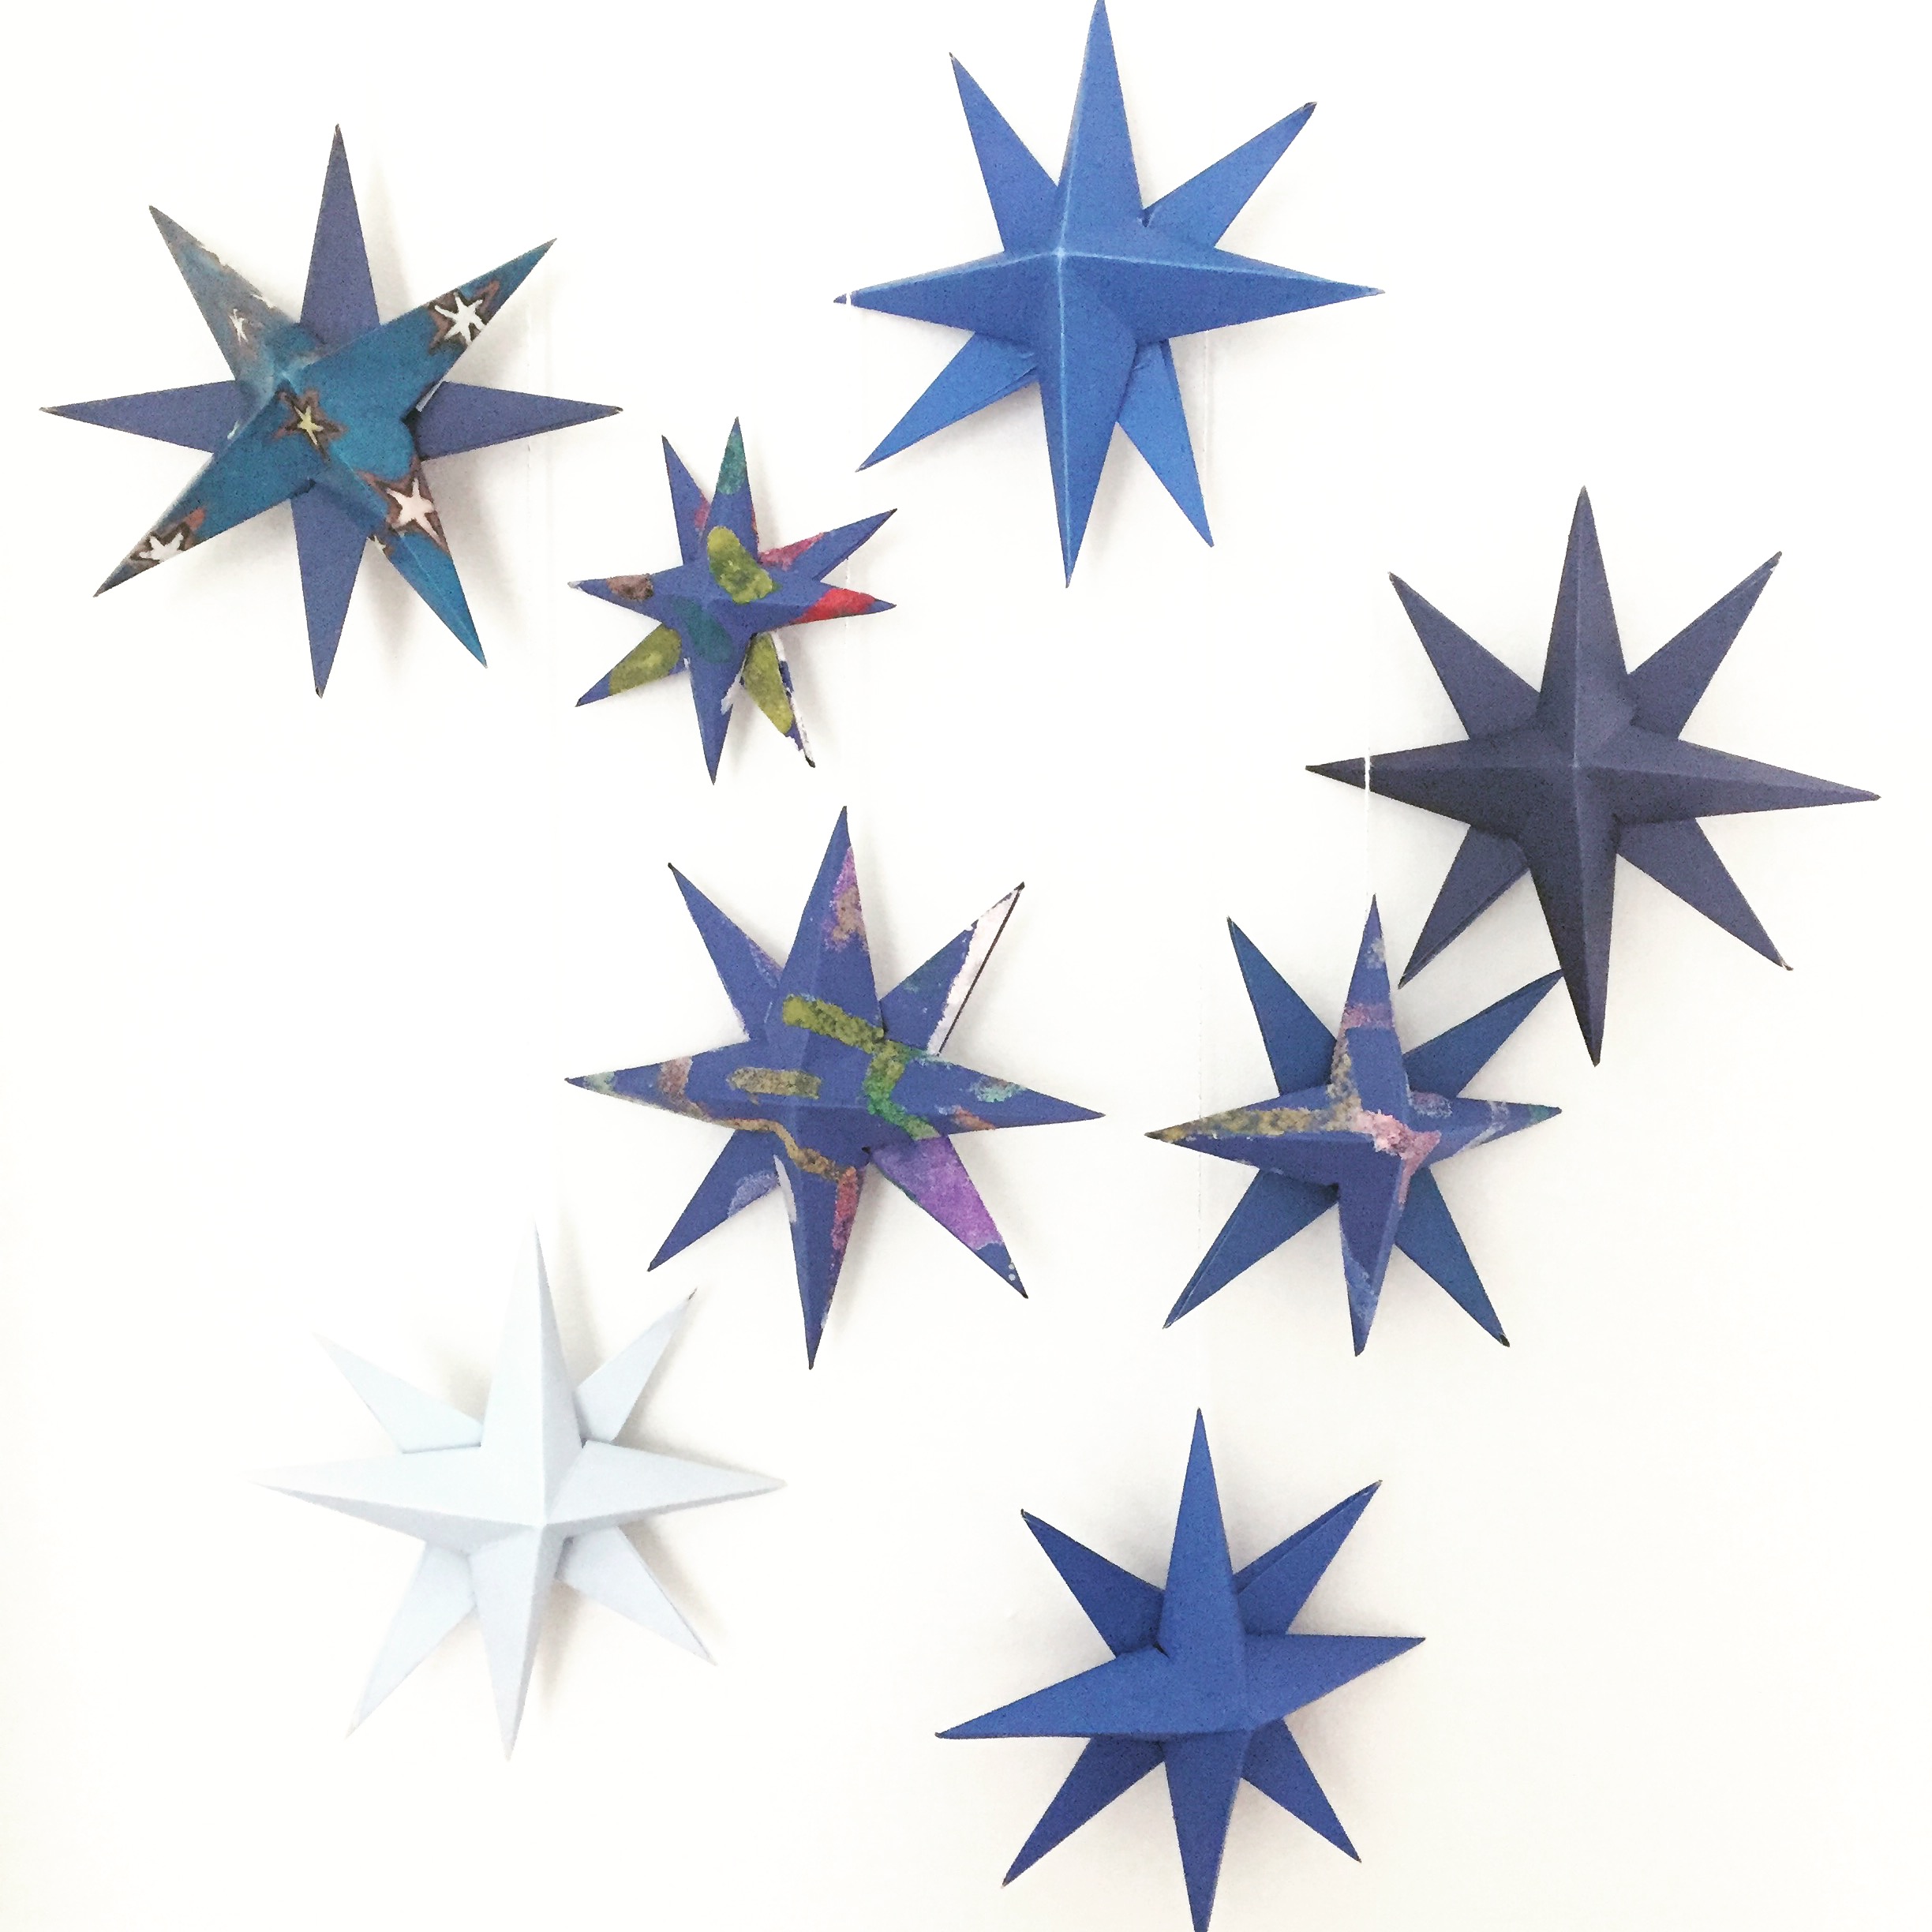
1. Gather a stack of paper in the colors and patterns of your choice. I woke up this morning really wanting to mix up the holiday brights I have been playing with recently. I love the color blue for holiday decor because it is serene, wintry, and kind of unexpected.

Choose 3-6 different colored sheets of paper. You could use origami, newsprint, scrapbook paper, card stock, construction, colored xerox paper, recycled art projects… See the abstract blobs on some of my stars? Those stars were made from salt paintings the girls did a few months ago. I love the mix of kid art, a grownup print, and deep solid blues. I invite you to get really creative with your paper source!

2. Cut your sheets of paper into squares. I cut mine in 6” x 6” and 3” x 3”.
3. Fold your square in 4.

4. Fold it to make a triangle. Open and fold again making another triangle

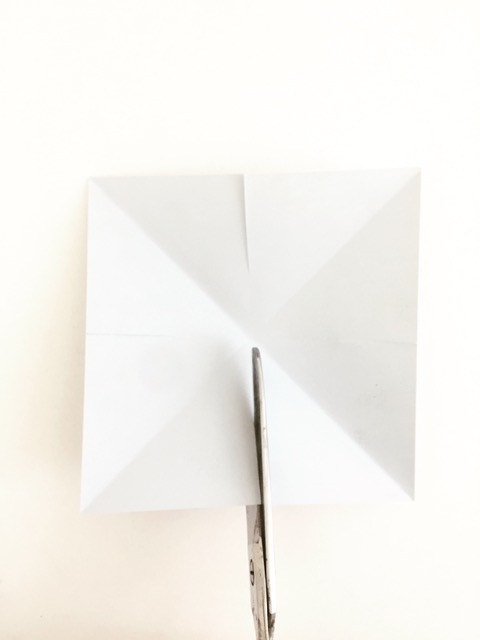
5. Flip your square over your creases should look like the ones in the photo below. Take a pen and mark your cut line. Draw half way up your center crease on all four sides.

6. Cut the lines that you have drawn.
7. Fold your flaps in, working all the way around.


8. Put a dab of glue or a glue dot on every other flap. I tried doing this step with glue and then decided that glue dots were a better choice (instant bond).

9. Pull the dry flap over the one with the glue. Once you go all the way around you have completed one star. Now you need to follow steps 1-9 to make additional stars.
10. Attach your stars.
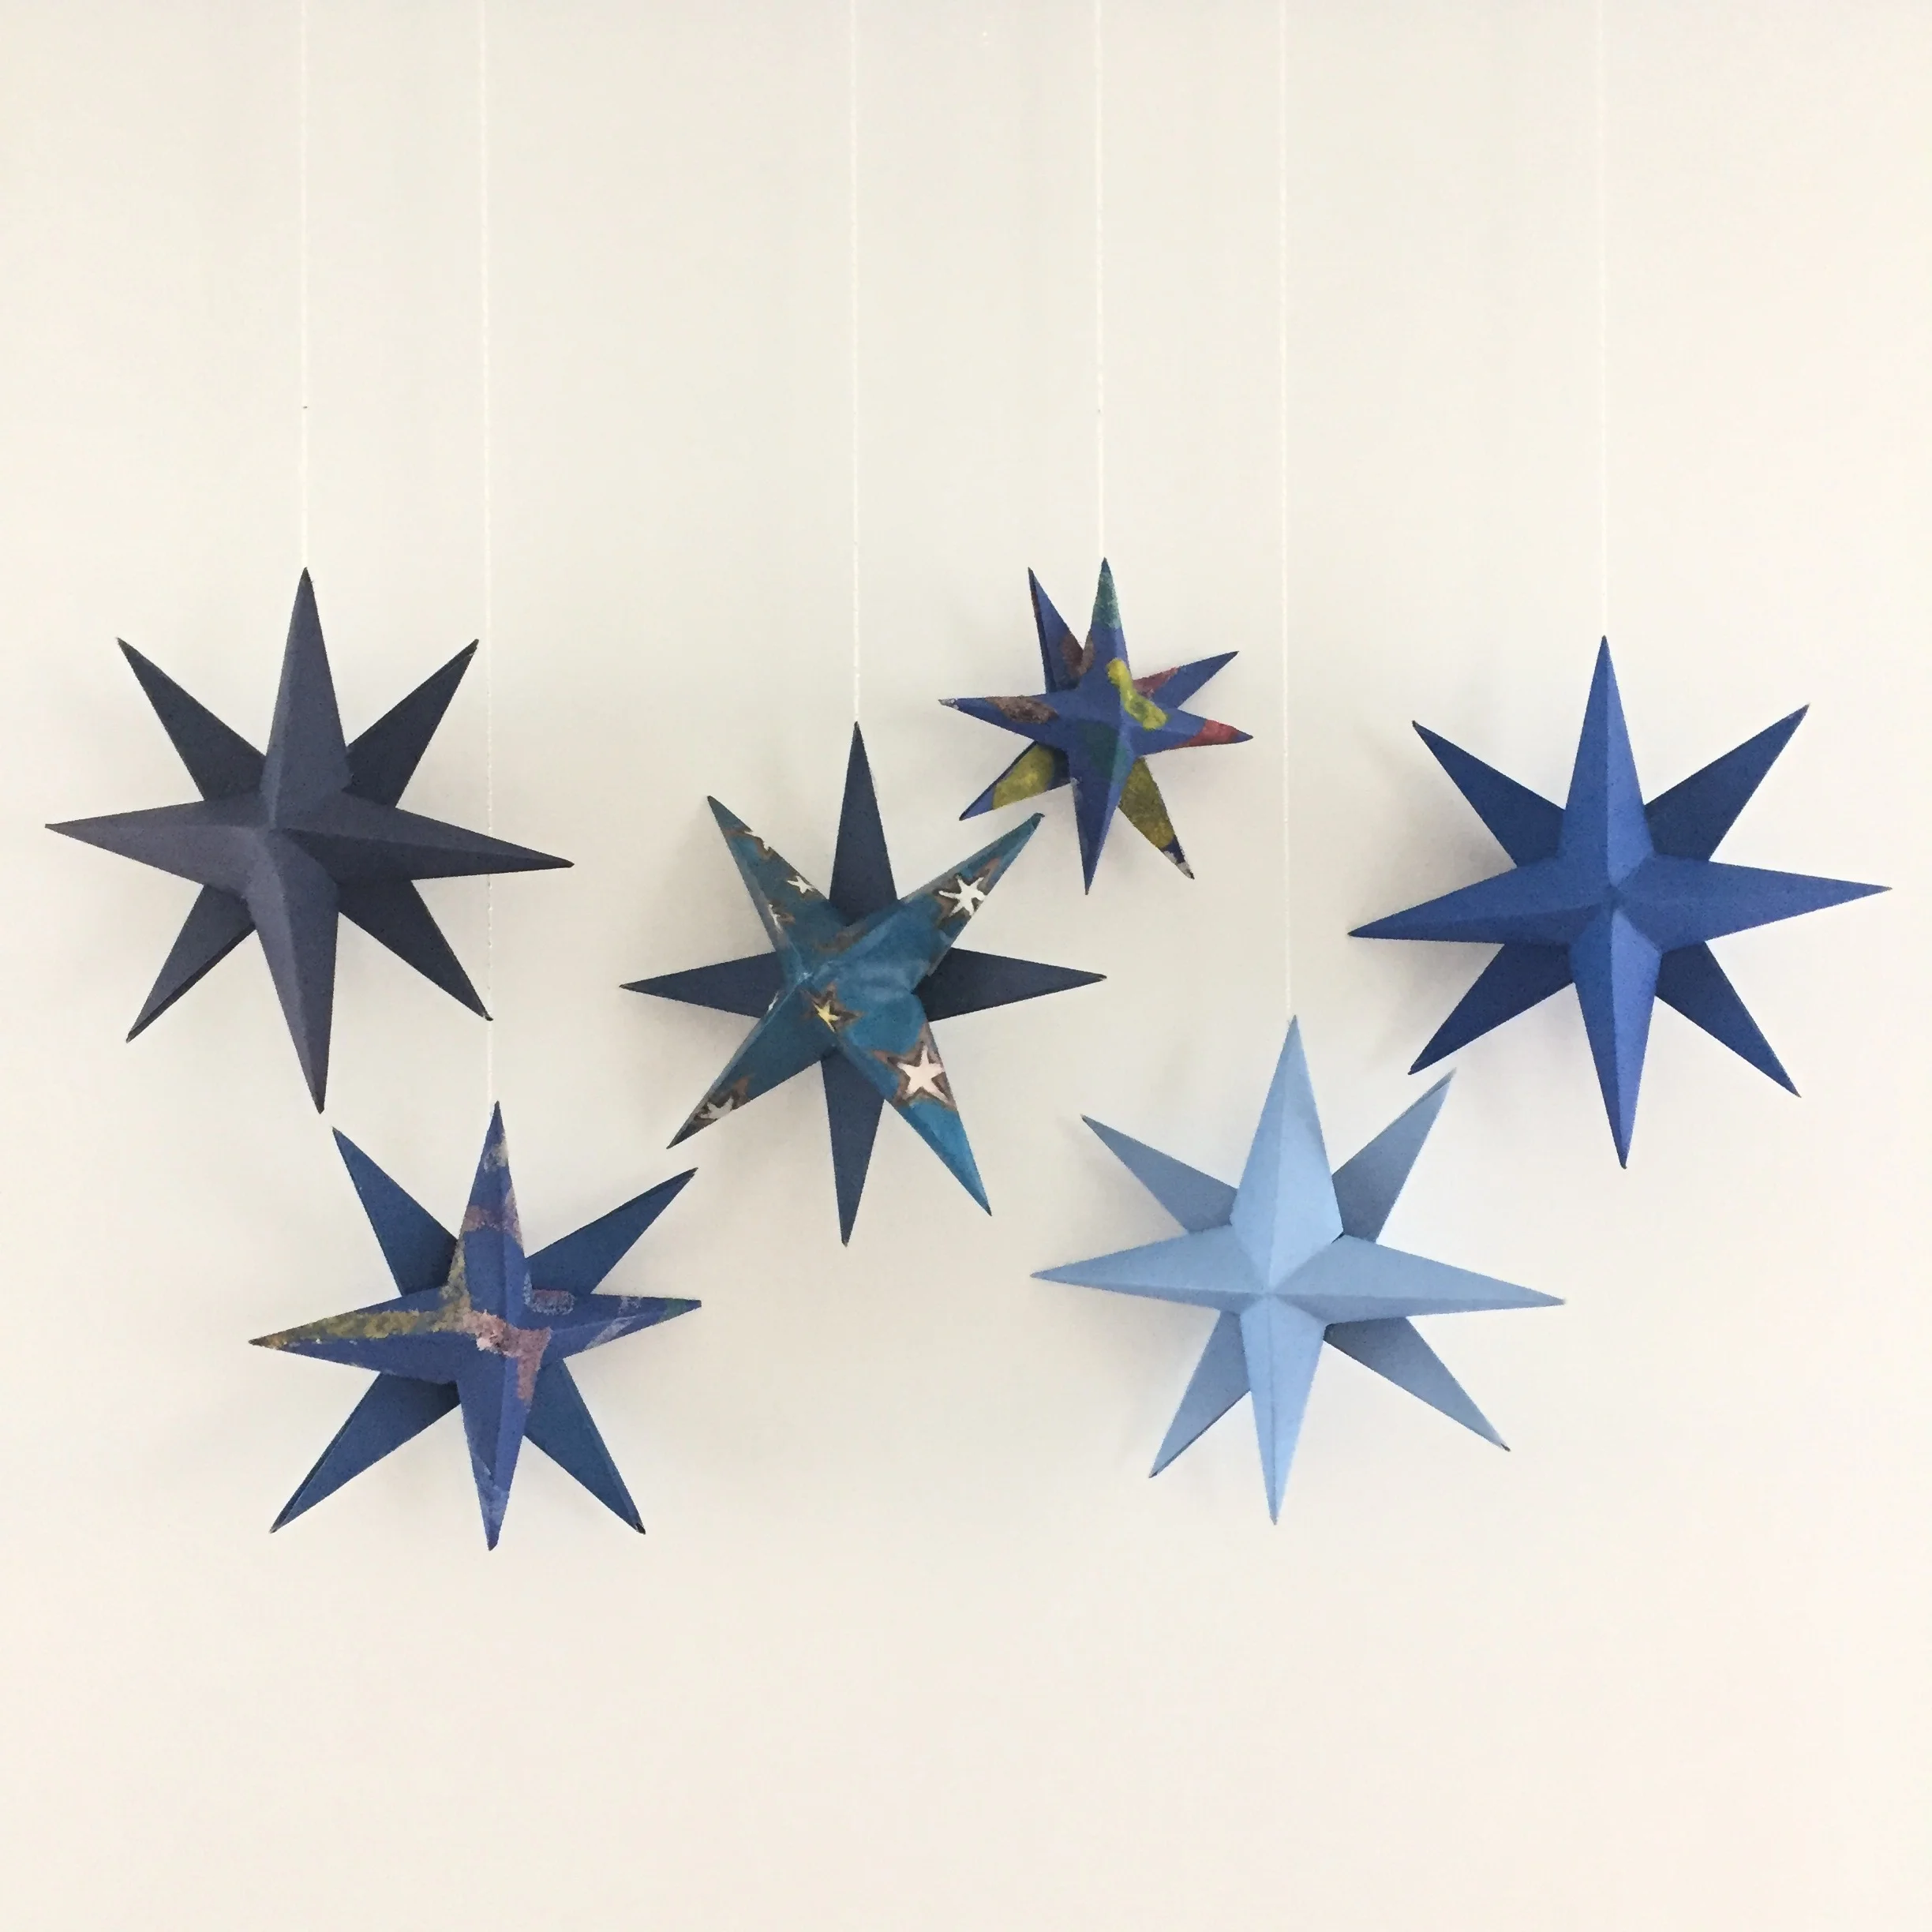
This is how it should look when you are done:

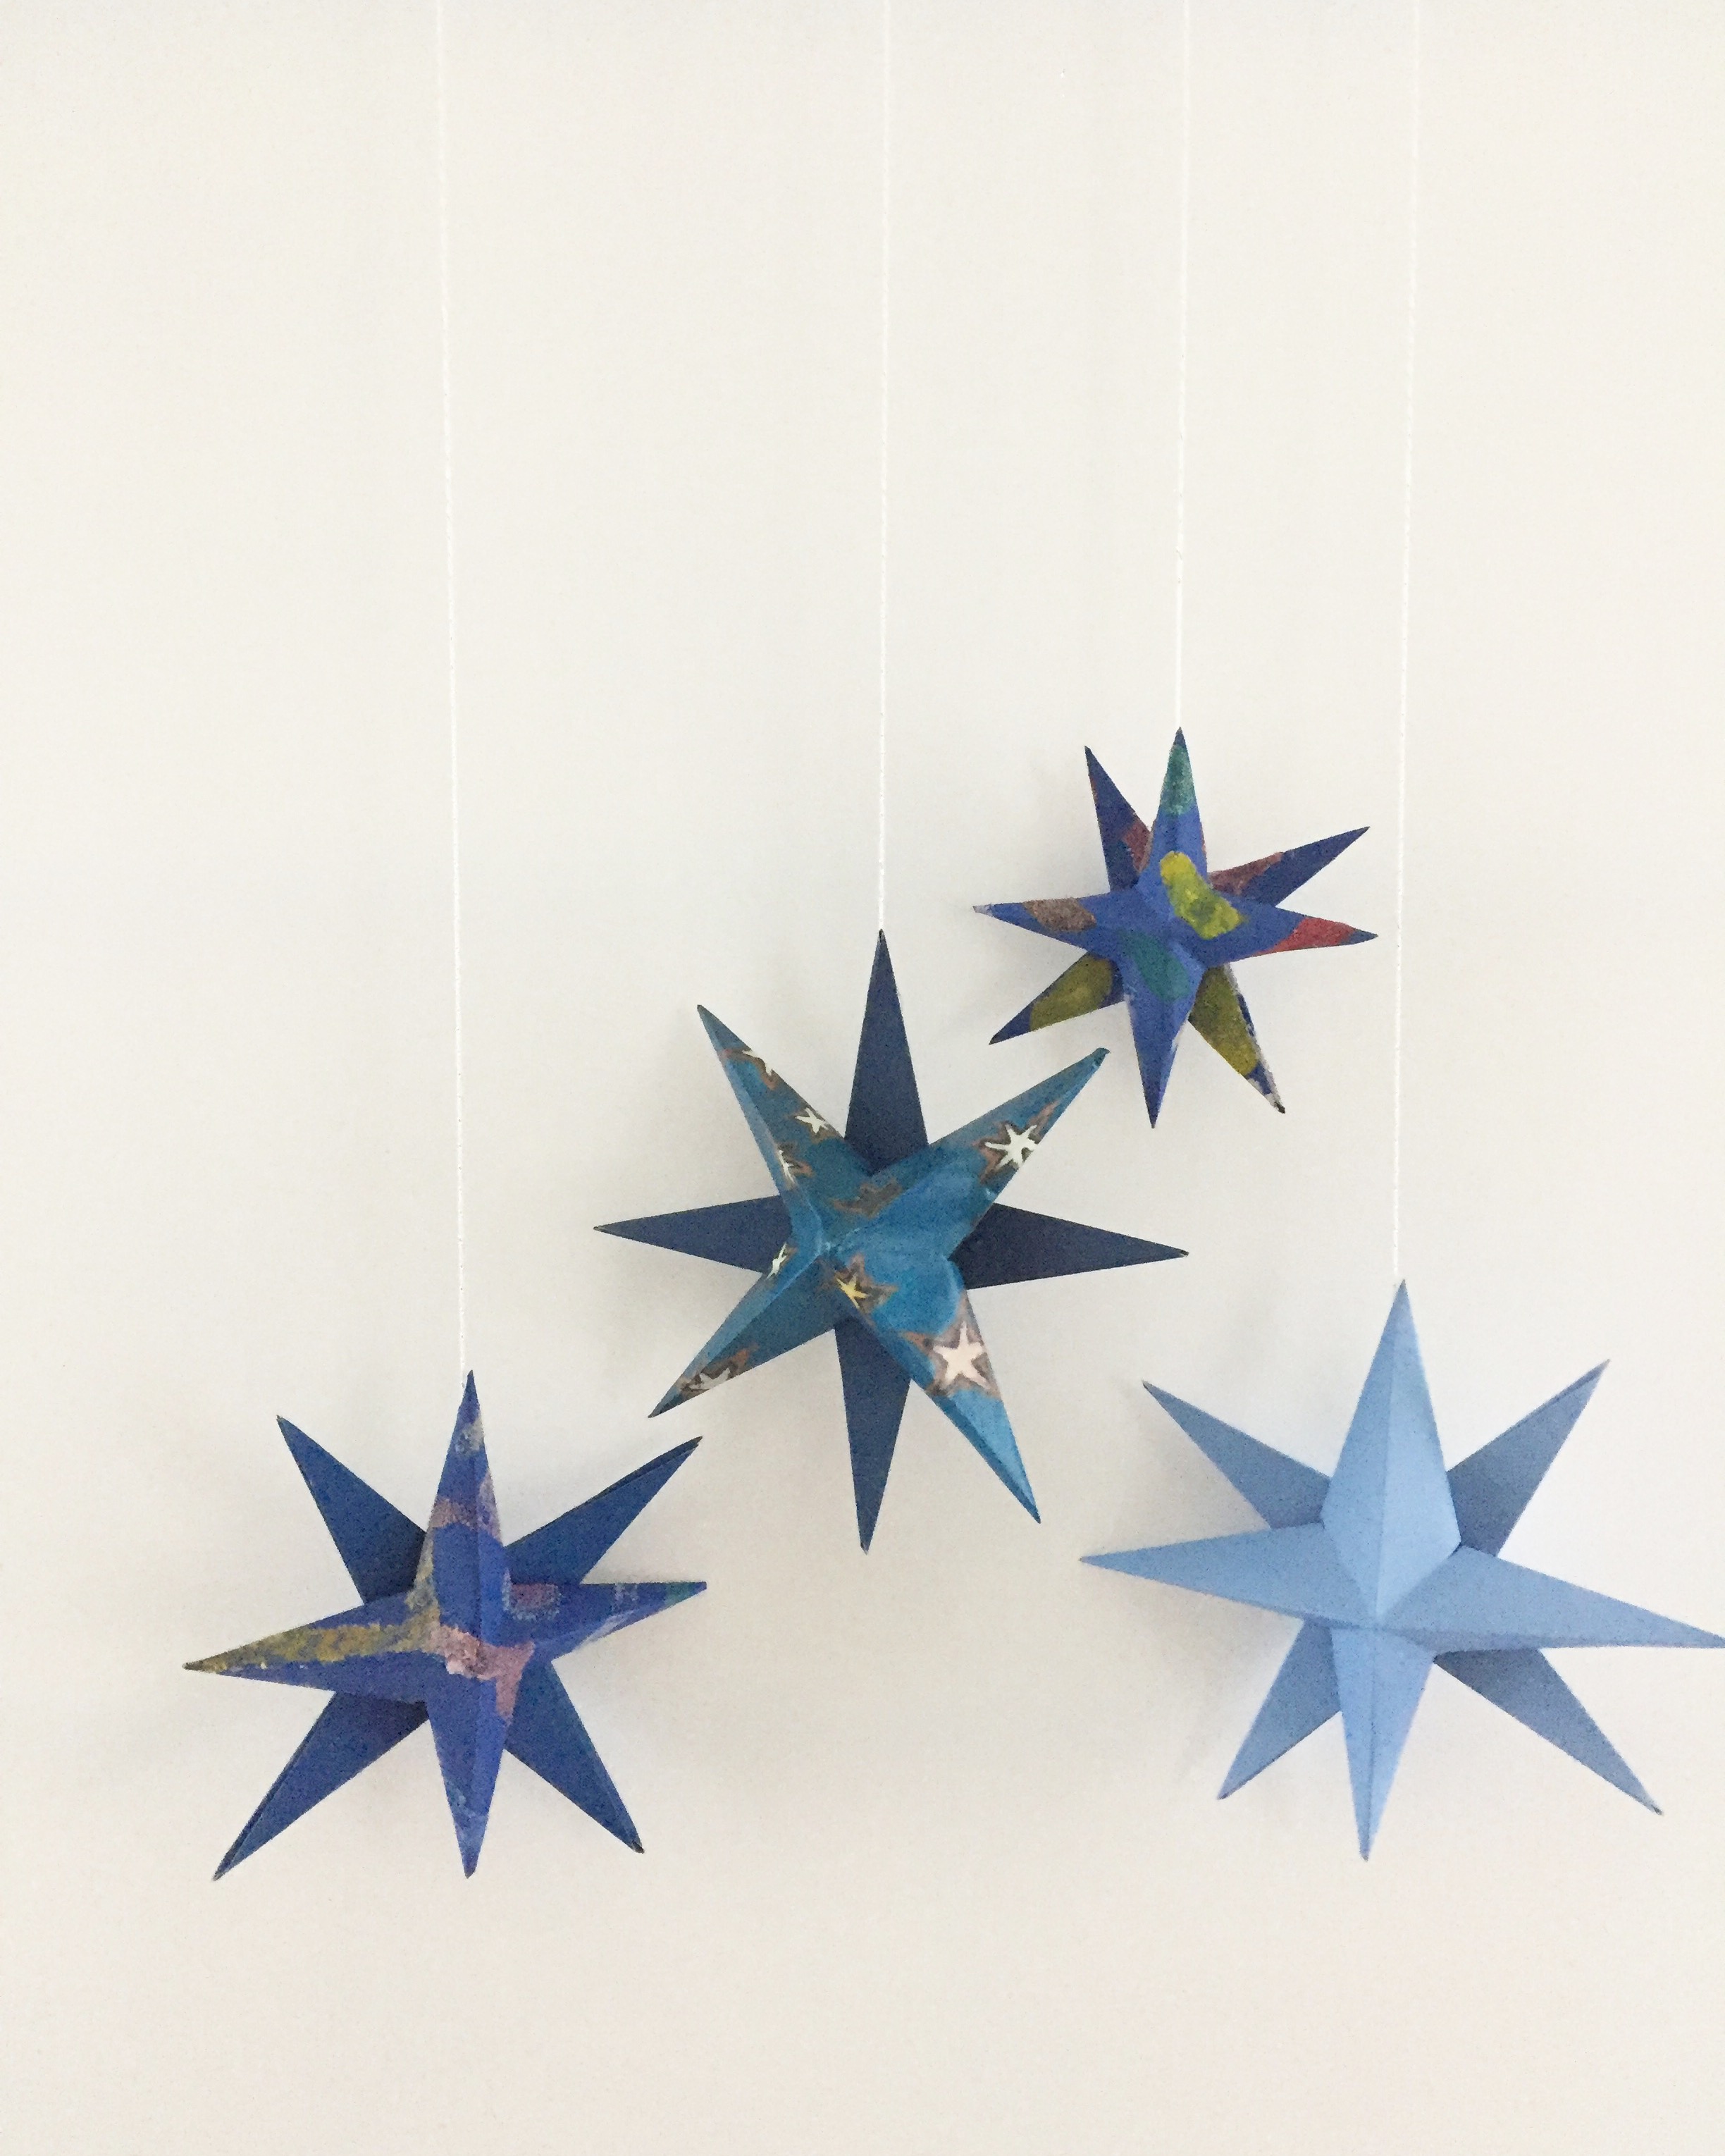
11. Attach the stars to thread or ribbon depending on how you intend to use them. I put a little dot of hot glue on the back of my top/center point and attached it to white and silver thread.
The best part is that these stars are SO versatile!
You can tape them to your wall with washi tape. You could put one or two on top of a present. You could attach them to ribbon like a garland. They make beautiful photo backdrops and whimsical window displays. You get the idea…this is a 5-star (see what I did there?) holiday craft!