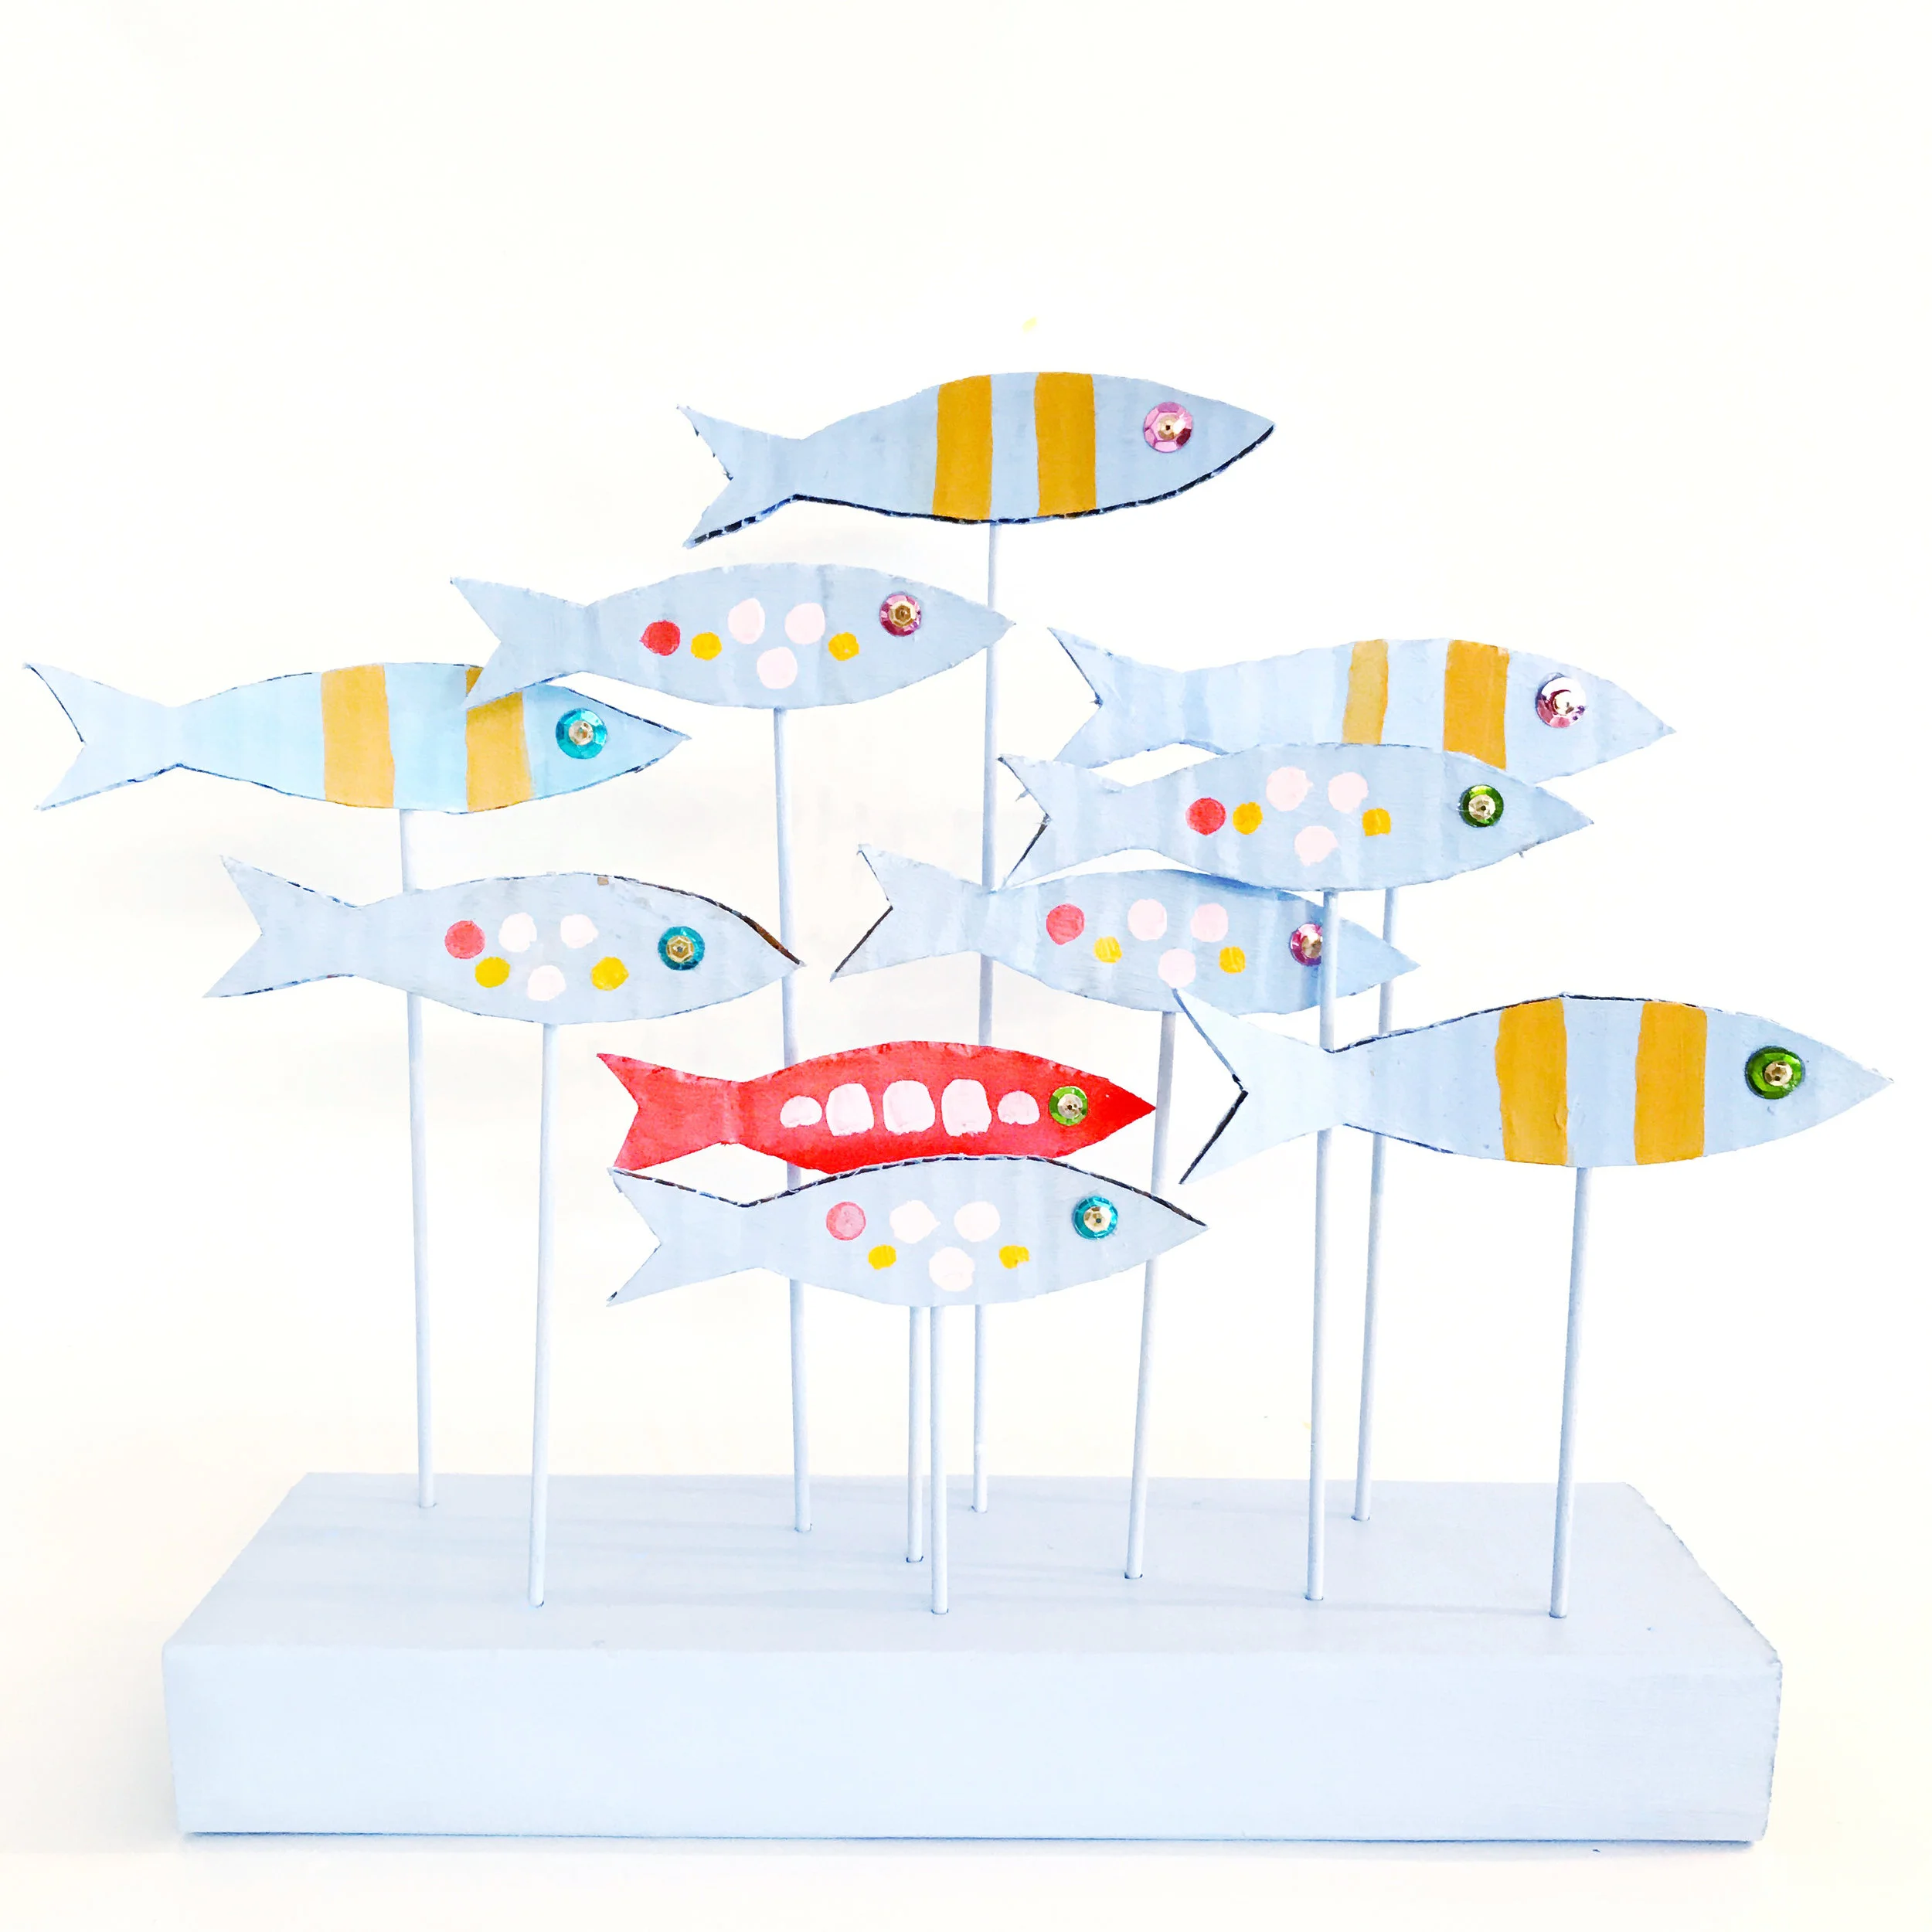
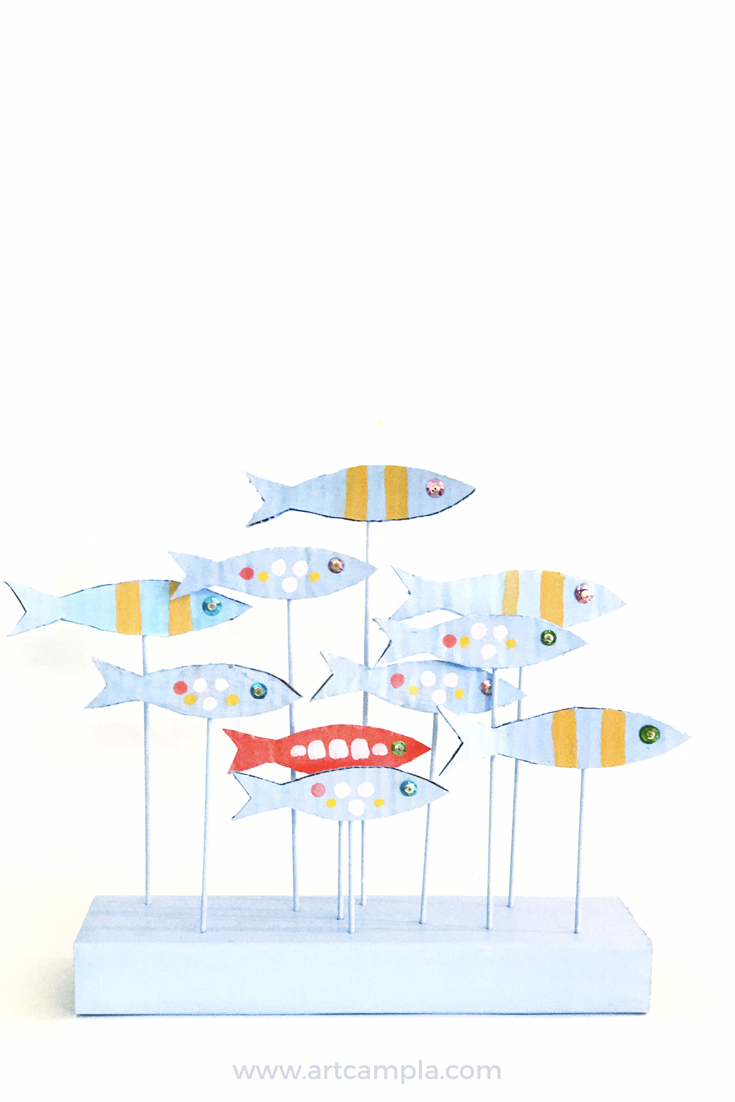
School of Fish Sculpture


There's times you'll be

a sinking boat

left adrift at sea

and times you'll be

the ocean tide

breaking wild and free

there's times you'll be

a jellyfish

and other times a seal

and times you'll be

the great white shark

and times you'll be the meal

there's times you'll feel like giving up

and sinking to the floor

and times you'll float

upon your back

and wash up on the shore

but know these times

will come and go

and just like tides

will ebb and flow

and though you won't

know which you'll be

you're still a part

of that mighty sea.


- Dallas Clayton


Materials:

  • fish template (see form below)

  • skinny wooden dowels

  • scissors

  • cardboard - two 12" x 12" sheets

  • glue gun

  • acrylic paint

  • paint brush

  • nail or skinny push drill bit 

  • sequins


1. Cut out your fish (1 big and 1 medium).  Subscribe below to receive our free template.  


Don't miss out on any Art Camp fun! Sign up here to receive our free modern fish template!

We won't send you spam. Unsubscribe at any time. Powered by Kit
 

2. Begin to trace your fish shapes onto your cardboard.


We were able to fit 5 large and 6 medium fish on our 12"x12" cardboard square.


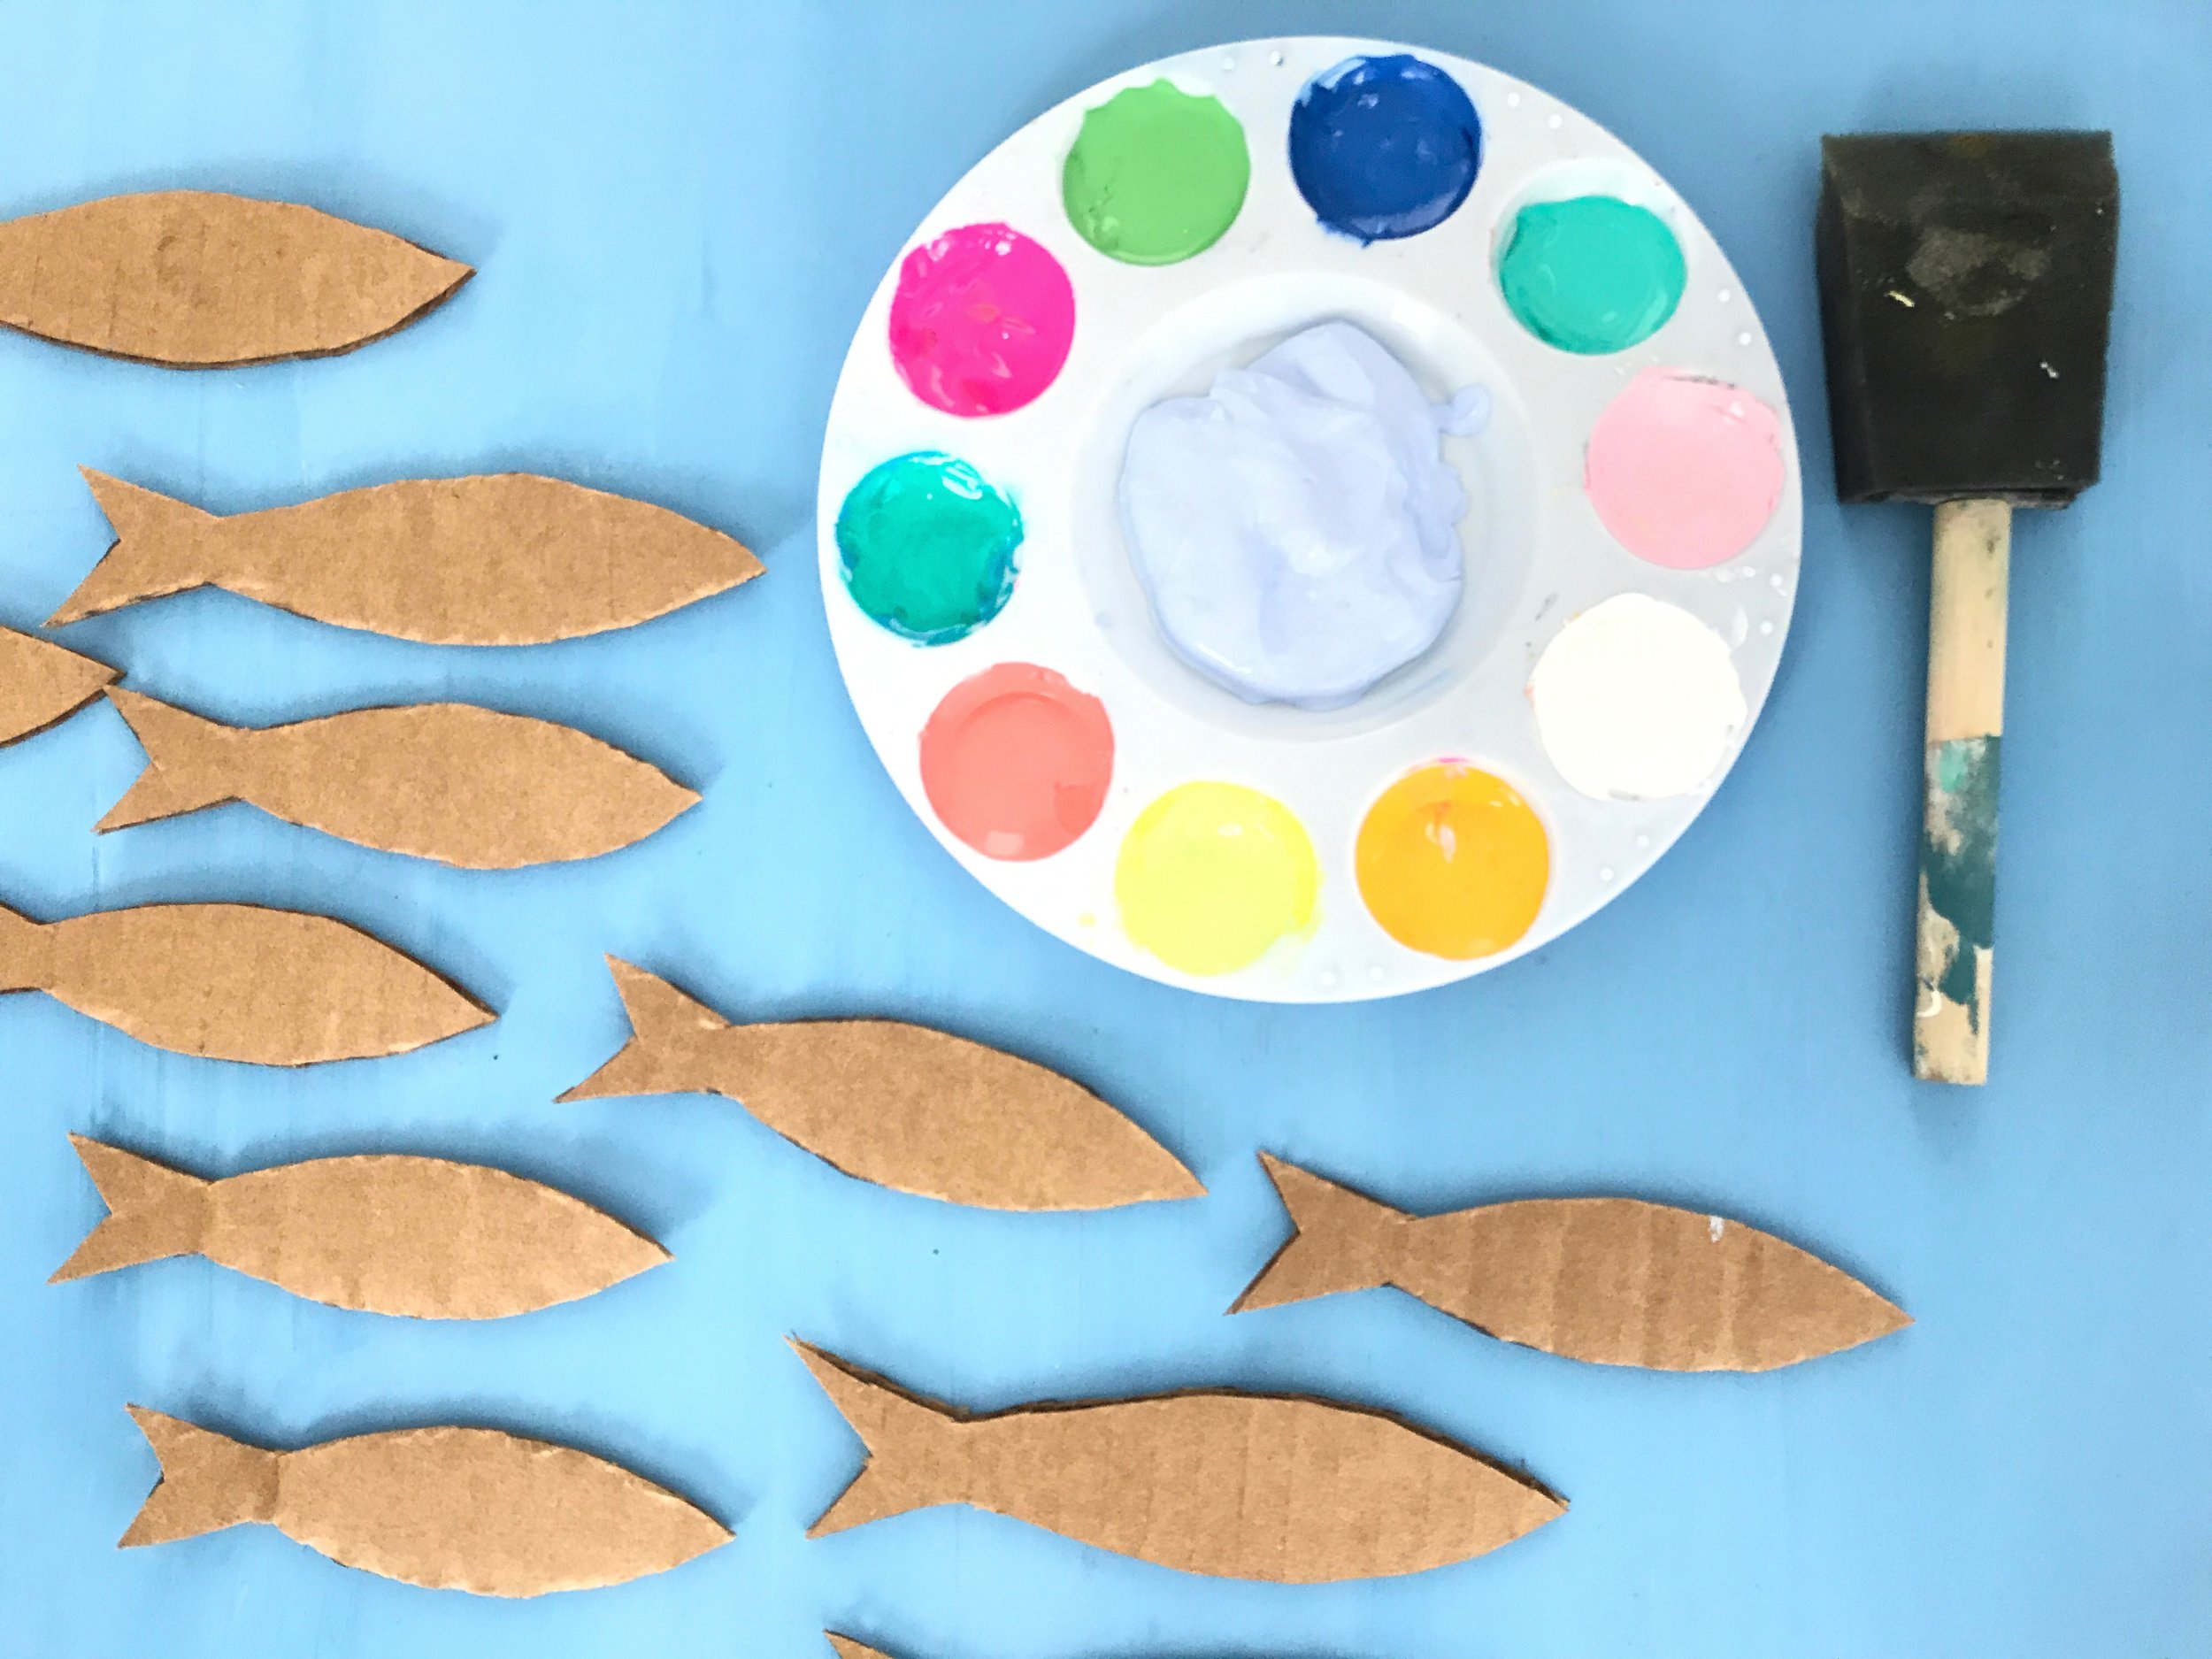
3. Cut out your fish shapes with a sharp pair of heavy duty scissors, a utility knife, or a ceramic box blade.


4. Time to paint!  We chose a light periwinkle color as our main color and used marigold, coral, and pale pink as our accent colors. 


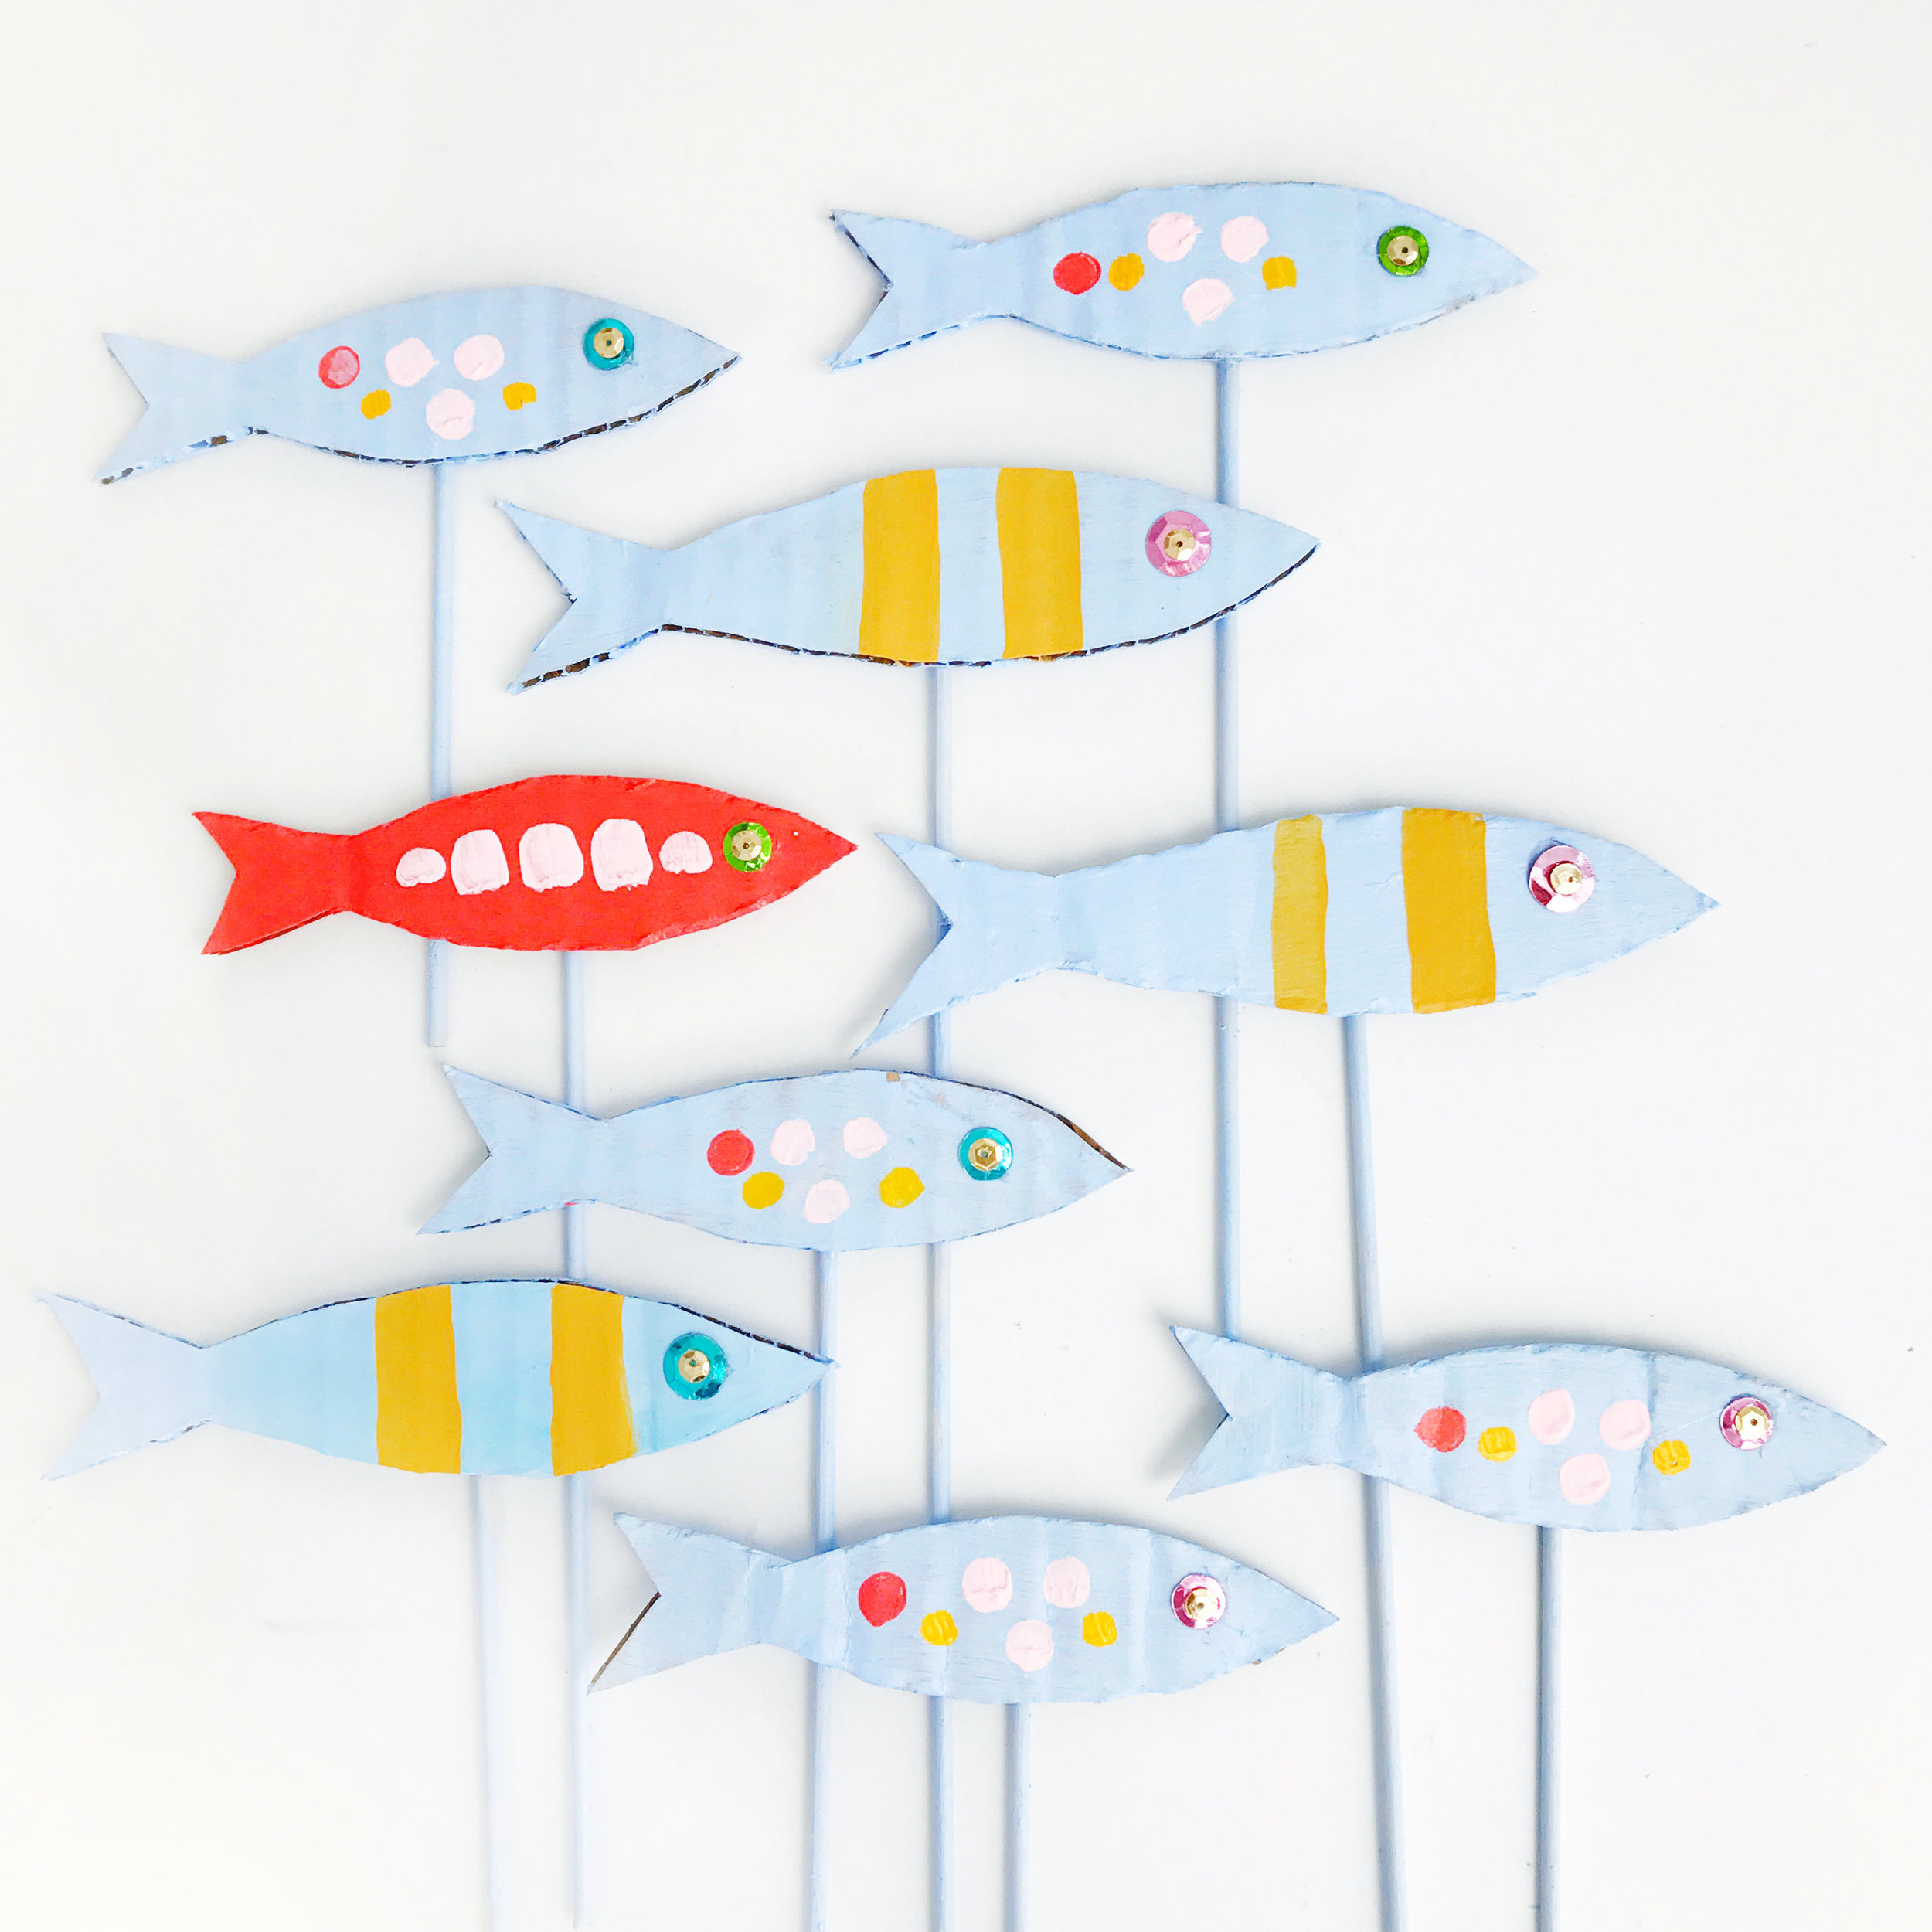
Every school of fish needs that one fish that stands out and doesn't look like the others, like our "Coral".


5. Use a ruler to start to crease your folds for your platform base.  We lined our ruler up with the edge of the cardboard, held it down firmly, and bent the sheet.  Then we created a second fold line four inches from the first and a third along the opposite side of the ruler.  Finally, we formed our cardboard into a rectangular box shape, used a pencil to mark the overlap, and cut off the excess cardboard with a utility knife.


6. Glue a strip of cardboard the width of your ruler to the surface where you created your first fold.  This will serve to reinforce the box and give you additional surface area on which to glue. 


7. Finish your rectangular box by gluing it down to the cleat that you created in the previous step.  


8. Paint your box and the skinny wooden dowels.  We used the same periwinkle we used as the base color on our fish to keep it cohesive.


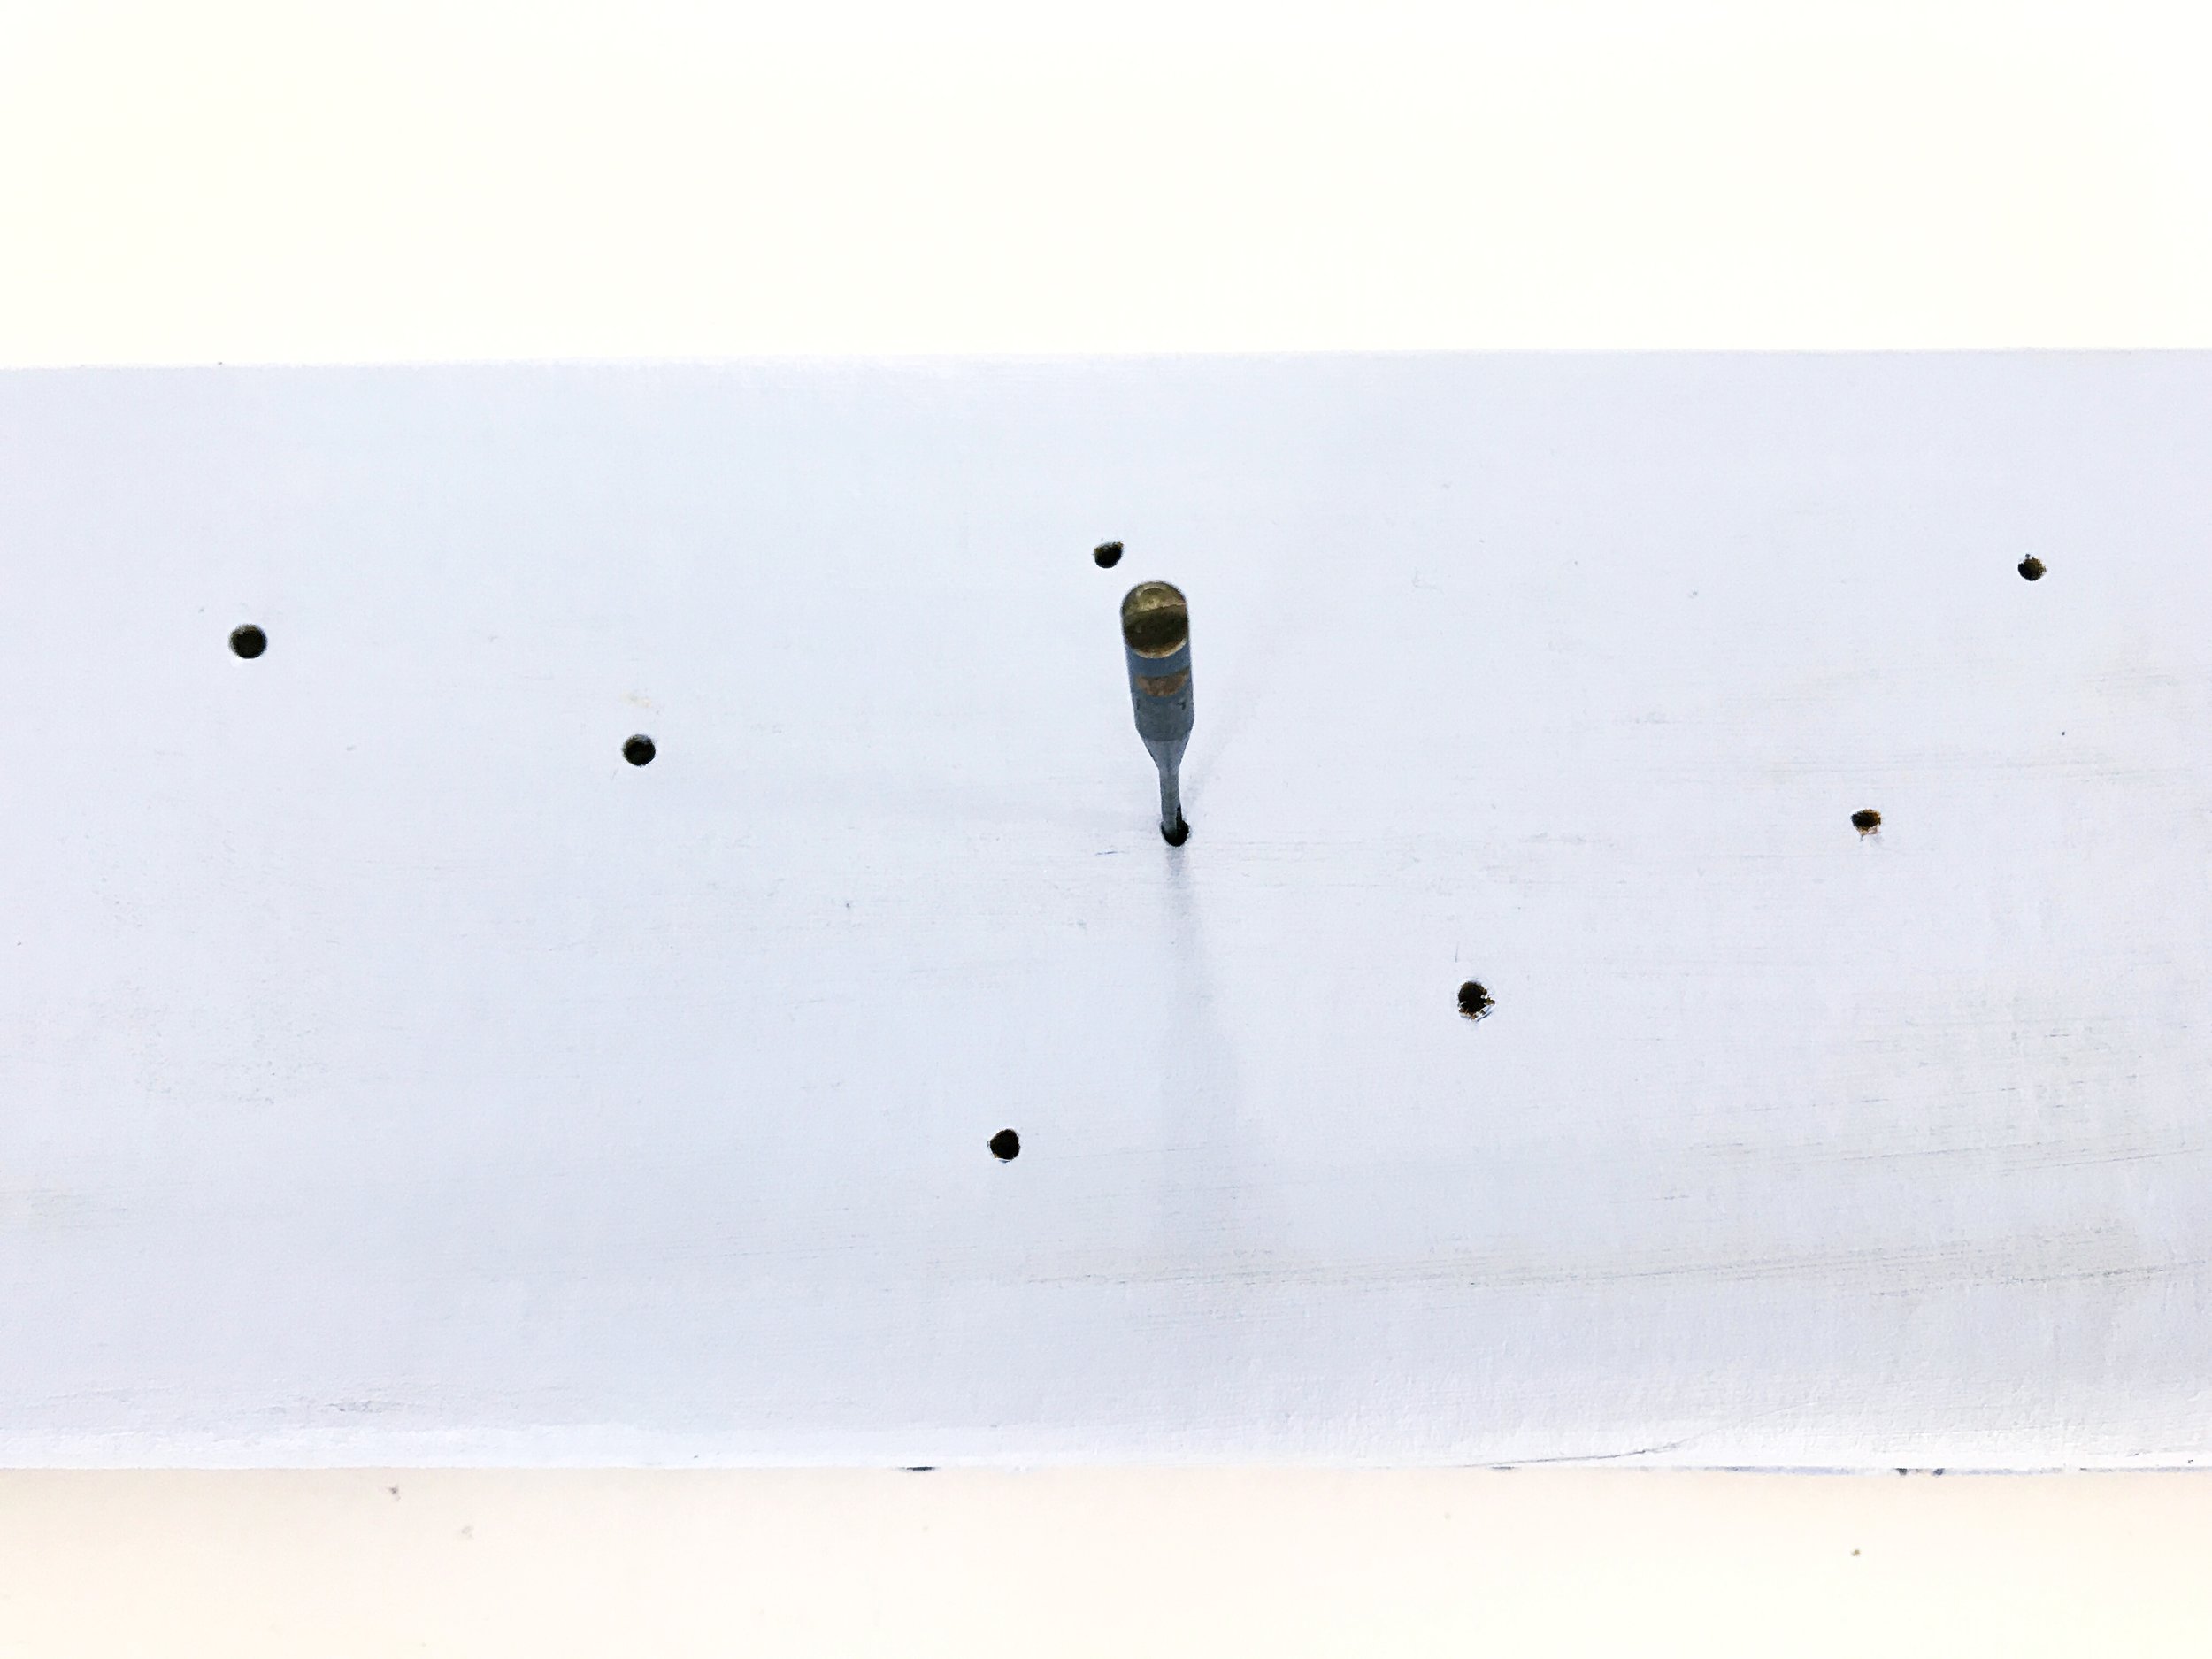
9. Punch holes in the box where you would like your fish to be placed.  We laid ours out before making holes and used a push drill bit to puncture the cardboard, but you could also use a nail.  Whether you use a drill bit or a nail, make sure that the diameter is smaller than that of your dowels so that they fit snuggly into the holes in the cardboard.  


10. Cut your dowels to varying heights to achieve the look that you want.  We played around with our layout until we knew how long to cut the dowels.  Note: it's better to gradually shorten a dowel until you have the height that you want than to cut off too much.  


11. Glue your fish to the dowels.  


12. Arrange the fish according to your desired layout and push the dowels through your pre-drilled holes.  


Like Dory said, "just keep swimming!"


ART CAMP Pro

Are you a private studio owner, art educator, or kids art business?

We are building an online community that offers ongoing professional training and project licensing for commercial use.

This new platform will allow us to serve our Pro community members at a more accessible price point.

Your sign-up will give you access to all the first come first serve perks. Exclusive content, Live sessions, Q+A opportunities, and you will be at the front of the line when doors open for enrollment!


    We won't send you spam. Just the good stuff!